The Flextory checkout module can be used to check out and in any items that exist in your Flextory account. The checkout module could be used for small libraries, departments that lend out equipment like laptops, etc. The checkout module also allows you to keep track of checkout history for a particular items and allows you to create as many patrons to check out items to as you want.
To enable the checkout module, follow these steps:
In accordance with Flextory's philosophy of keeping things as flexible as possible, how you organize and define your patrons is up to you. A patron is just another item in your database. One possible way to set up your patrons/users in Flextory is as follows:
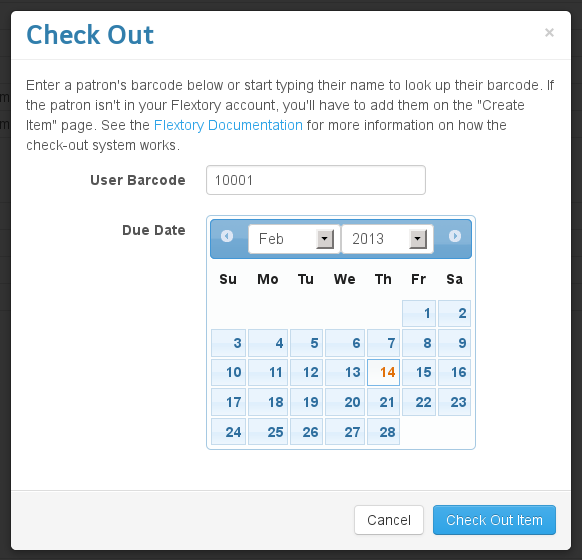
To check out an item, simply go to the item and click the “Checkout” button. To choose which patron to check the item out to, either type in the user's barcode or start typing their name in the “User Barcode” field. If you type out their name, suggestions will automatically appear. You can then use your arrow keys to highlight the patron and then press enter or you can simply click the patron's name. Once you do that, the User Barcode field will be automatically populated with that user's barcode. Next, select a due date for the item via the calendar.
After you click “Check Out Item”, you'll see that various attributes were added to the item that give details about the checkout of the item. You'll also see that a check out event will be shown under “Checkout History”
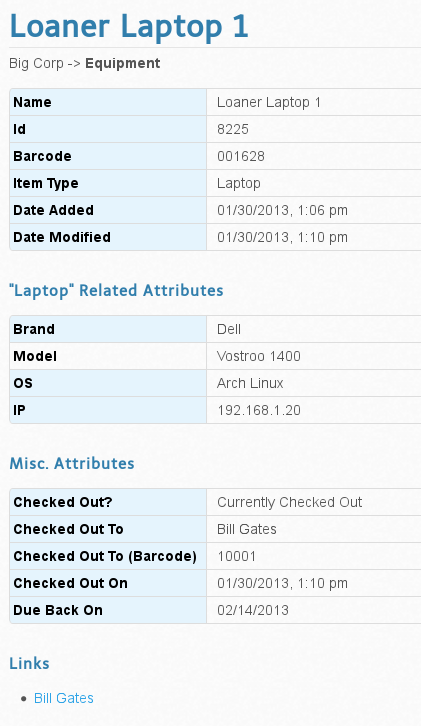
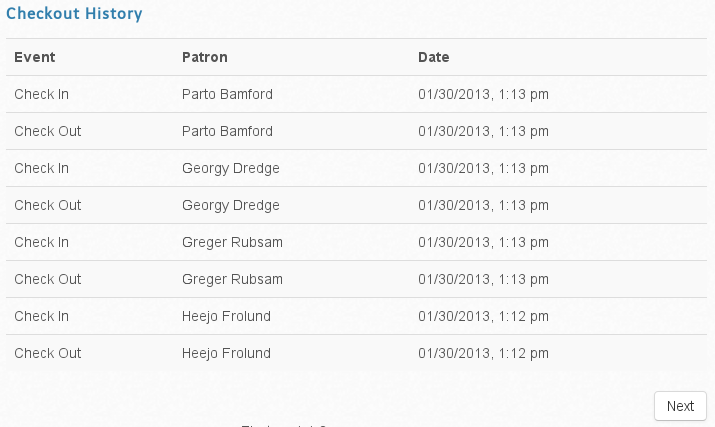
To check in an item, simply click “Check In”. When you check in an item, the check out attributes will be removed from the item and the event will be added to the item's “Checkout History”.
Just like with any attribute, you can add the “Checked Out?” attribute to your Browse page via “Table Views”. If an item is checked out, it will say “Currently Checked Out”, otherwise, it will be blank. You can also include that attribute in any searches just like all your other attributes.